30 June 2012

Altered Art Bottles

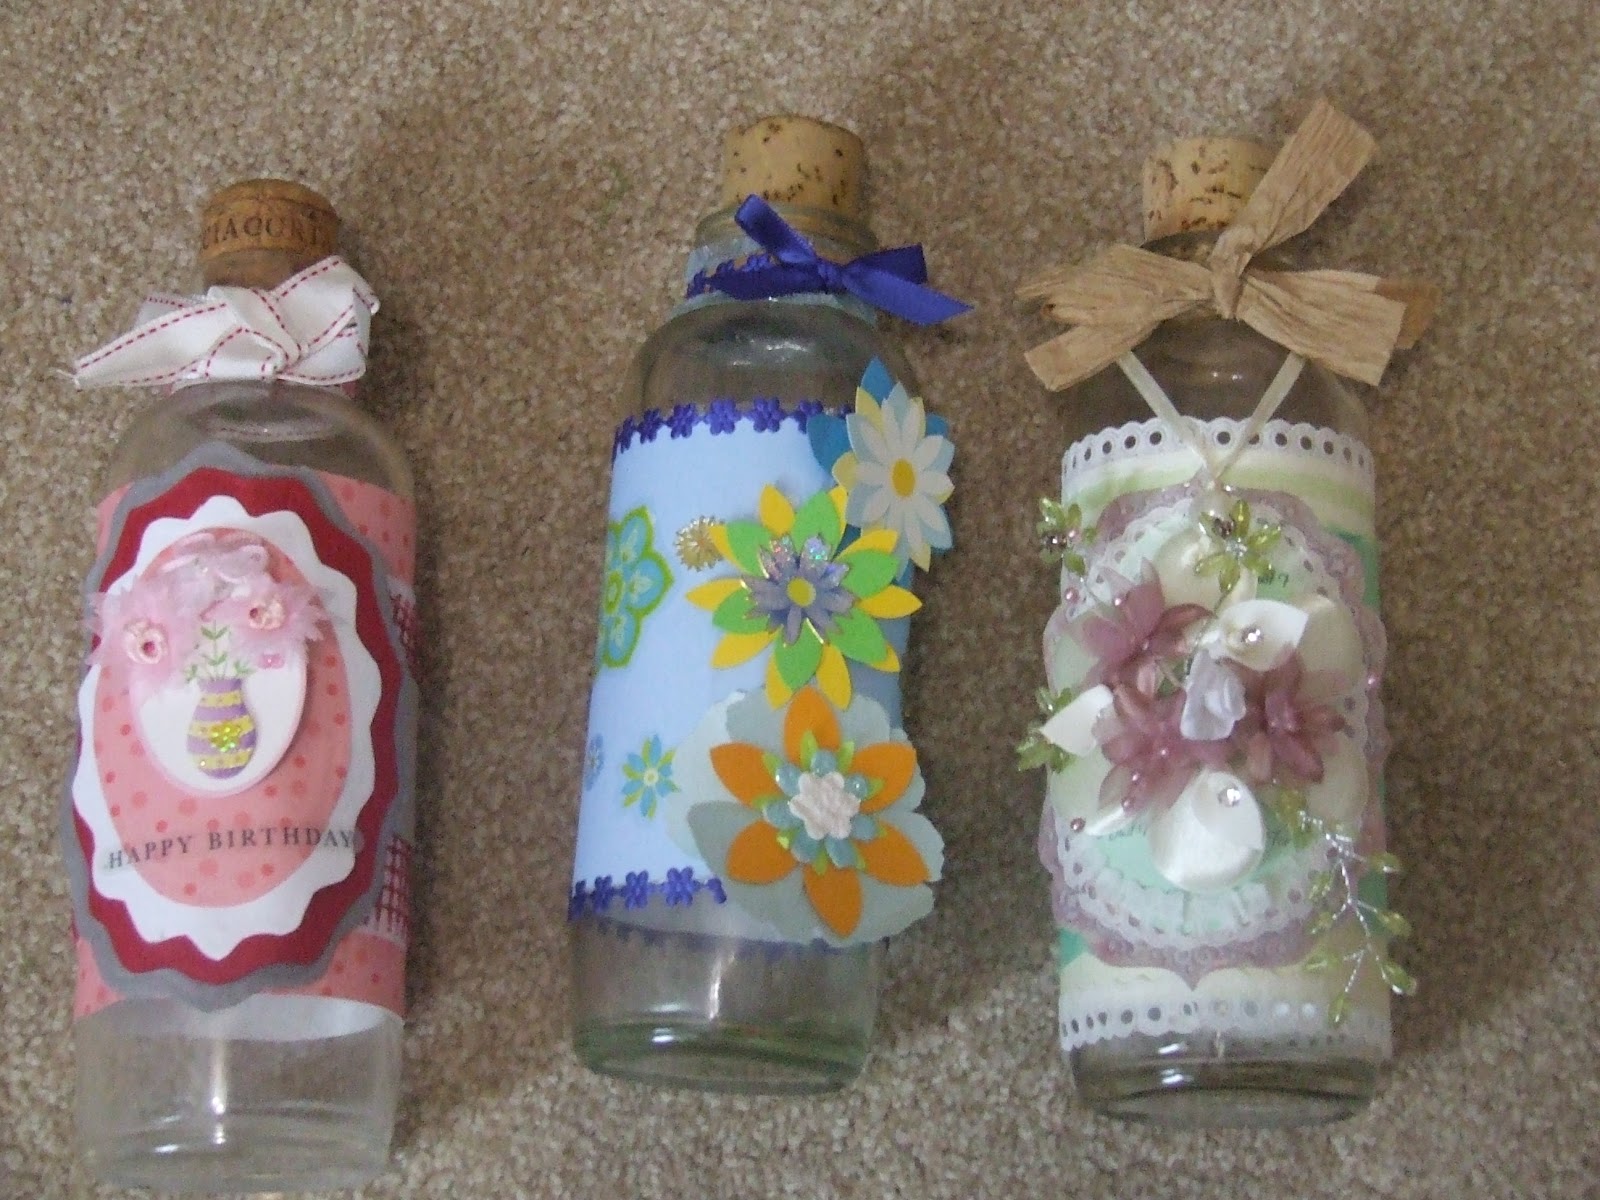
Since  my last blog, the first bottle has now got two friends !!


I am really enjoying decorating these old style bottles and here is what i am working on at the moment ....

in this photo i have created the bottle wrap label 

Close up photo shot of decorative label

Back view of bottle where i have added embellishments to highlight the pattern in the paper i used :)


11 June 2012

Altered Art

I recently found myself a different outlet for my craftyness and have been enjoying decorating pages in an art journal ... which i will add to my blog soon.

i stumbled across a photo that i really liked and thought i can do that ....

so here is my interpretation of a vintage style altered bottle (i found the old bottles
at the car booty 3 for £1 !!)

stage one .. washed bottle then stuck stripey green scrap booking paper to the bottle with pva glue

stage two .. i then added sticky backed lace trimming and applied green tissue paper with pva glue

stage three ... i made my own bottle label by using an epoxy bubble frame stuck this onto a sentiment sheet
then added some more of the lace trimming, dangled the fabric flower over the neck of the
bottle with ribbon and a cream pearl threaded over a knot for extra detail.  this was secured into place with 3d foam pads, i also tied a raffia bow for the neck of the bottle and secured with pva glue.

stage four ... finally i used silicone glue to create a flower center piece using miniture artifical flowers

03 June 2012

holiday memories

firstly i must say thank you to my new followers from ... http://www.facebook.com/groups/CraftBloggersNetwork/crafty bloggers network
i have received a lot of encouragement, inspiration and help from members in this group :)

i also promised to show you the sketch i did while on holiday ....

... cricceth castle, north wales ... drawn with artist colouring pencils ...


06 February 2012

Flower pot pin cushion


I have recently started a creative textile course and wanted to share with you my first make from this class.


 this photo shows needle, cotton thread, wadding, felt and material
 the wadding has been sewn into place with a running stitch and
 gathered into a scrunched up ball.  the piece of felt was then sewn to 
 cover over the wadding
 next stage to making my flower pot pin cushion was to then stictch into 
 place two layers of felt, that had been given a fancy edging, to my 
 wadding scrunch as shown in this photo

 this is a miniture terracota flower pot, i used pva glue to line all the
 way around the inside of the pot.
 i then pushed my wadding scrunch into the pot and turned it upside
down while i waited for it to dry overnight.
  and finally the finishing touches, i used a sticky backed ribbon and
  a flower embellishment to decorate my pot.
 ta da !! my finished flower pot pin cushion !!!! i am really pleased with
 how my little pin cushion turned out and it was very easy to make :)

13 December 2011

Handmade Mistletoe Christmas Card

I am a huge Joanna Sheen fan and i love her craft cd roms, i have a few stashed away!! I really enjoy watching Joanna's craft demonstrations on the craft shopping channel, she always give really good tips and inspiration for how her cd's can be used

For this hand made card i used the background and images from Joanna sheen's card makers library cd rom .
I wanted a Christmassy feel to my card and i this is why i chose the mistletoe picture.

Firstly I have matted the main mistletoe image onto gold mirri card.  This was then stuck down with double sided tape onto matching mistletoe background paper, for a final touch i added some diamond glaze to the flower heads and used peel off stickers for my greeting.

So here is a photo of my finished hand made mistletoe christmas card :)